
Supplies:
*Pattern (3 pages)
*Heavy Cardboard (work area, house base, & roof)
*Light Cardboard (house)
*Transfer Paper (or carbon paper or make your own)
*Hot Glue
*Craft Glue
*Scissors
*Xacto Knife
*Paint
*Tissue Paper (or vellum)
*Felt (enough to cover house base & to add to top of roof)
*Glitter
*Electric Tea Light (battery powered)
*Decorations
Difficulty Level: Medium-Hard - This has A LOT of windows to cut out.
Time: Took me about 2 hours to build this, mainly because of all the window cutting. I might never have made this one, but the original one I made for my mom, a Butterfly Roof Ranch (which is not longer available) was destroyed by water, so I chose this as her replacement house.
Directions:
01. Print out the pattern (images below - direct link to download at Retro Renovation below that).
02. Lay the carbon paper onto the plain side of the lightweight cardboard (such as a cereal box you've cut open). Lay the printed out pattern on top of the carbon paper. Using a pencil or pen, trace the entire pattern (all lines, window openings, door, & the tabs).
*I have carbon paper already, so it's what I used. You can use another type of transfer paper, or you can make your own, as shown by Retro Renovation. Use charcoal or a pencil to colour in & sheet of plain paper. Use the charcoal/pencil side facing the cardboard & the pattern on top of this.
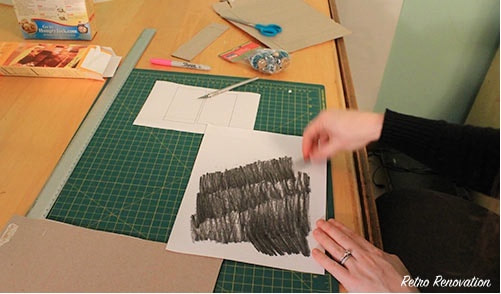
03. Next you'll cut out the pattern that is now on the lightweight cardboard. Be sure to have heavy weight cardboard underneath all of this on your work surface. (You'll use it for Xacto-ing, painting, glittering, & hot gluing. You'll also need a portion to use as your house base.)
First Page: This is the front & side of the house. All those window squares need to be cut out & the four squares for the side door (are the door windows). You do not have to cut out anything for the front door, unless you want some (or all) of those squares to be windows. It's up to you. The little bits are the window boxes for the front lower windows. Each line will need to be lightly scored so you can turn them into 3-D rectangles.
Second Page: This is the back & other side of the house. Those windows all need to be cut out as well as the large rectangle, which is where you'll put the electric tea light into the house.
Third Page: This is the roof of the house.
04. From here you can fold all the tabs and lines that put the house into shape & hold both the front & back up (together). This will give you an idea of about how large to cut the base for your house. Do you want to add trees? Do you want no space really? I suggest a 1/2" - 1" space in the back. 1/2" - 3" for the sides. 1" - 4" for the front yard. You should also keep in mind where you will display these & if your desired size base will fit?
|
|
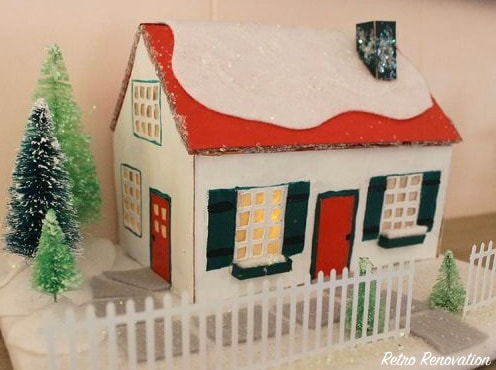
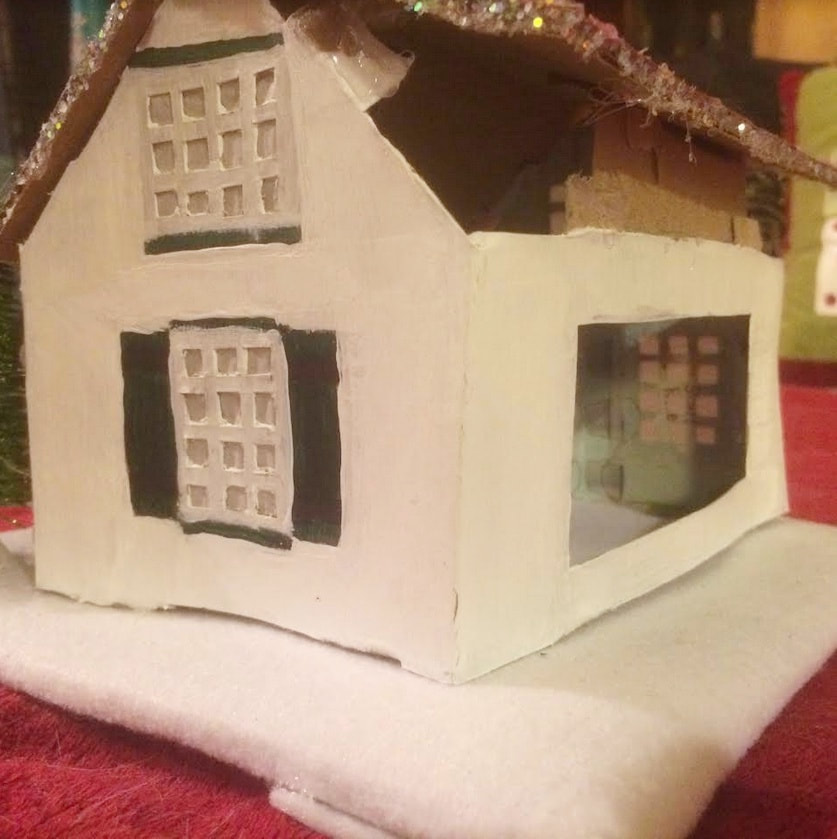
05. Now you can paint your house. Above are the original house from Retro Renovation on the left & my creation on the right. I chose to keep it pretty accurate to the original with the same colour palette. I didn't cut windows for the front door, but you can see in their photo the four windows cut for the side door. I did do that. So, you can make it look more like Retro Renovations or your own. There is no need to paint the interior.
Paint the roof. If you are using "snow" felt on your roof you only have to paint the portion that will show. Otherwise, if not using snow, just paint the entire top roof.
Any paint will do, even cheap dollar store kids craft paint. It doesn't have to be fancy. Allow all paint to dry completely (about 15 - 30 minutes).
06. When the paint is dry, you'll add the windows. This is where the tissue paper or vellum comes in. Just flip your unbuilt house front over so you're working with the backside (the interior). You'll cut your pieces so there is enough excess to glue around the windows onto the cardboard. It doesn't have to be exact, or perfect, or a large piece. You can cut one piece for all of those windows. Glue around the edge of window with Elmer's type glue & then stick the tissue paper to this. Allow to dry completely (about 5 - 20 minutes).
07. Now it's time to assemble, which means warming up the hot glue gun. First items I'd recommend are covering the house base in felt. Just have a colour you want your yard to be. Grass? Choose a green. Dirt? Choose brown. Snow? Choose white. They even make white felt with glitter in it, so that's pretty.
Then you'll hot glue a piece of felt to the roof for snow, if you're going with a snowy theme. Next lay out some glitter on your work surface. Put a line of hot glue on one edge of your roof & dip in the glitter. Repeat for the remaining three sides. You can use any colour glitter, I just also like the white crystaline look of the "snowy" glitter that was shown on Retro Renovation, so it's what I use. You could use silver. You could use any colour. It's your house you can make it look however you want.
Now you'll hot glue the four tabs to put the house together, they're the four at the bottom (not on the bottom). Then hot glue bottom tabs & stick house onto base, pressingly firmly (but not firmly enough that you crush it). Next hot glue the roof onto the house, again pressing firmly, but not too firmly. Now glue on the chimney piece.
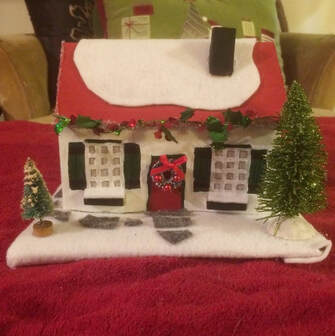
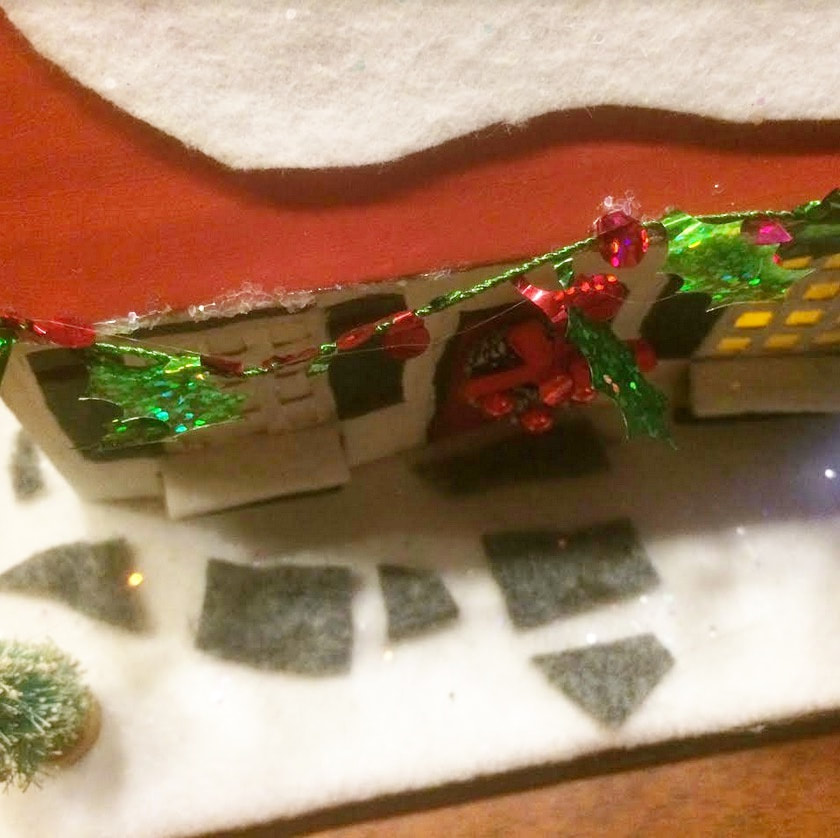
08. Now it's time to decorate. This is where you affix bottle brush trees or pieces of felt as a walk way, a wreath you made or purchased, presents under the tree, large pieces of glitter or pom poms as snow flakes, twinkle lights, or simply festive decoration. This can be things you wish to purchase, things you make or have yourself. You don't even have to decorate if you don't wish to.
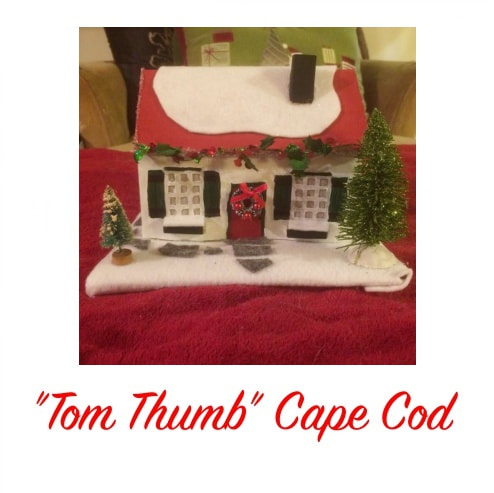
09. Turn the tea light on & place inside. Ah... it's so pretty!
Paint the roof. If you are using "snow" felt on your roof you only have to paint the portion that will show. Otherwise, if not using snow, just paint the entire top roof.
Any paint will do, even cheap dollar store kids craft paint. It doesn't have to be fancy. Allow all paint to dry completely (about 15 - 30 minutes).
06. When the paint is dry, you'll add the windows. This is where the tissue paper or vellum comes in. Just flip your unbuilt house front over so you're working with the backside (the interior). You'll cut your pieces so there is enough excess to glue around the windows onto the cardboard. It doesn't have to be exact, or perfect, or a large piece. You can cut one piece for all of those windows. Glue around the edge of window with Elmer's type glue & then stick the tissue paper to this. Allow to dry completely (about 5 - 20 minutes).
07. Now it's time to assemble, which means warming up the hot glue gun. First items I'd recommend are covering the house base in felt. Just have a colour you want your yard to be. Grass? Choose a green. Dirt? Choose brown. Snow? Choose white. They even make white felt with glitter in it, so that's pretty.
Then you'll hot glue a piece of felt to the roof for snow, if you're going with a snowy theme. Next lay out some glitter on your work surface. Put a line of hot glue on one edge of your roof & dip in the glitter. Repeat for the remaining three sides. You can use any colour glitter, I just also like the white crystaline look of the "snowy" glitter that was shown on Retro Renovation, so it's what I use. You could use silver. You could use any colour. It's your house you can make it look however you want.
Now you'll hot glue the four tabs to put the house together, they're the four at the bottom (not on the bottom). Then hot glue bottom tabs & stick house onto base, pressingly firmly (but not firmly enough that you crush it). Next hot glue the roof onto the house, again pressing firmly, but not too firmly. Now glue on the chimney piece.
08. Now it's time to decorate. This is where you affix bottle brush trees or pieces of felt as a walk way, a wreath you made or purchased, presents under the tree, large pieces of glitter or pom poms as snow flakes, twinkle lights, or simply festive decoration. This can be things you wish to purchase, things you make or have yourself. You don't even have to decorate if you don't wish to.
09. Turn the tea light on & place inside. Ah... it's so pretty!
|
|
NOTE: It's perfectly OK if your house is wonky. This one somehow glued to the base in a wavy line & also I couldn't manage to fit the roof. So it wouldn't be flapping around & would stay sturdy, I just glued unpainted cardboard on that inside line (above the tea light insert) & tabbed it to glue on the bottom of the roof. You can not tell any of these defects by it just sitting there on a table, not even lit up from inside.
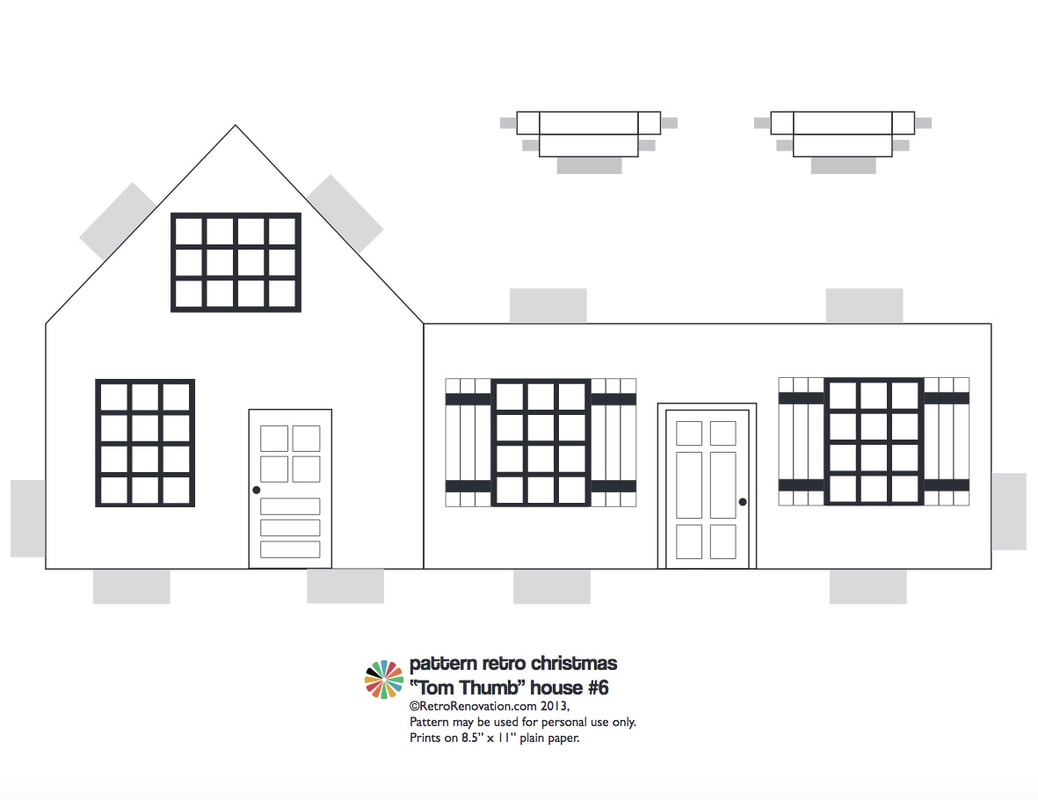
Front of house & window boxes
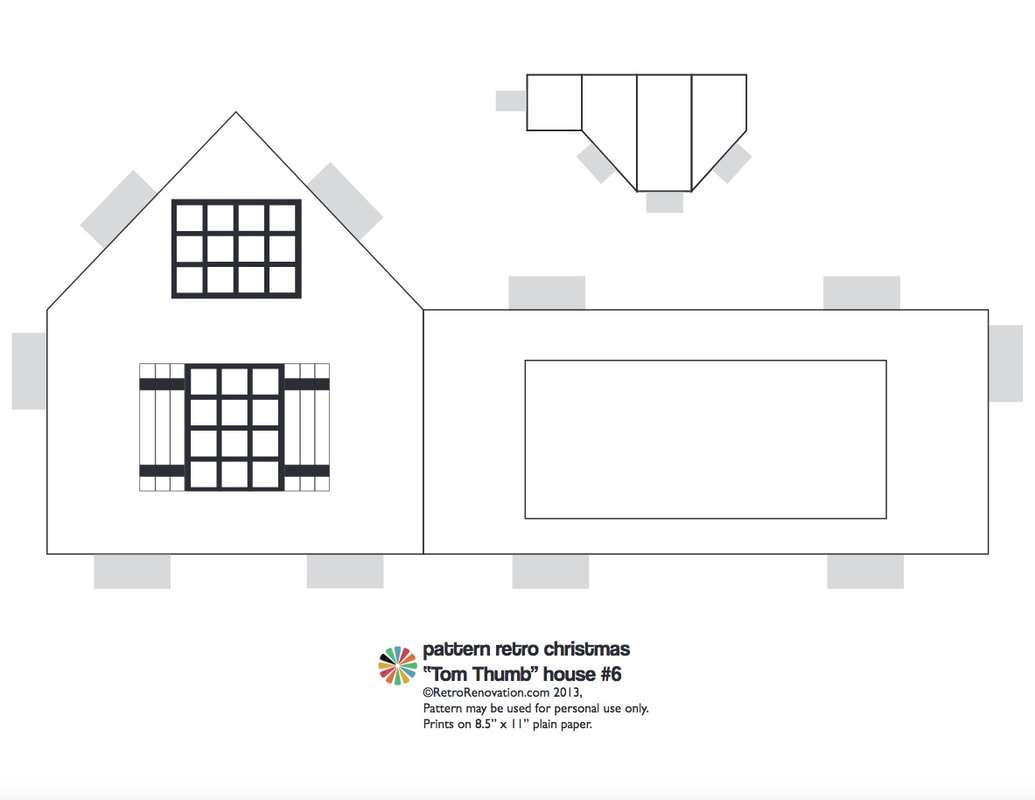
Back of house & chimney
Roof
